Painted pumpkin how to.
Ok I absolutely love Halloween! So it only makes sense to do some Halloween crafts. Most of what I tried this year I'm not super stoked about but this pumpkin turned out pretty cute. Here's how I did it.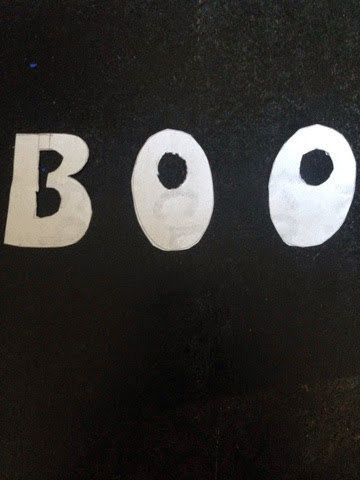 First I just cut out my letters from regular white printer paper.
  I then sprayed the back of the paper with spray adhesive (my best friend).
 I then took black acrylic and painted the top of the pumpkin black.
  This next step was the hard part. I tried to drizzle the acrylic so it would run down the pumpkin. If done over I would have thinned out the acrylic beforehand. So essentially I just squeezed it out really thick at the bottom of the black paint that I already had on the pumpkin.
  I ended up spraying it with a little water to help it run better. I then waited for the paint to dry to peel off the stencil.
 Voila! The final product. It's not perfect but it turned out pretty good and looks great on my porch.
While still wet I stuck the letters where I wanted them on my pumpkin and smoothed them out.


Comments
Post a Comment